Almost nobody enjoys having their picture taken. Preparation isn’t about getting “ready” in a polished sense — it’s about removing small frictions so the session can be short, directed, and useful. The points below cover the parts that affect the image quality.
1. Know where the image needs to work
The first decision is what the image is for. A LinkedIn refresh, a company bio rollout, a press request, a casting profile, a personal-branding library — each one biases wardrobe, crop, and the mood the photographer will direct toward. Telling the photographer the use cases ahead of the session is the single highest-leverage piece of preparation.
2. Prepare wardrobe without overpacking
Two or three outfits is enough for most sessions. A solid mid-tone color you’ve worn to meetings, a slightly more polished alternative, and an optional contrast piece if the brief calls for range. Bring them on hangers if you can — folded fabric reads as creased in a tight crop. The full wardrobe logic lives in the what to wear guide.
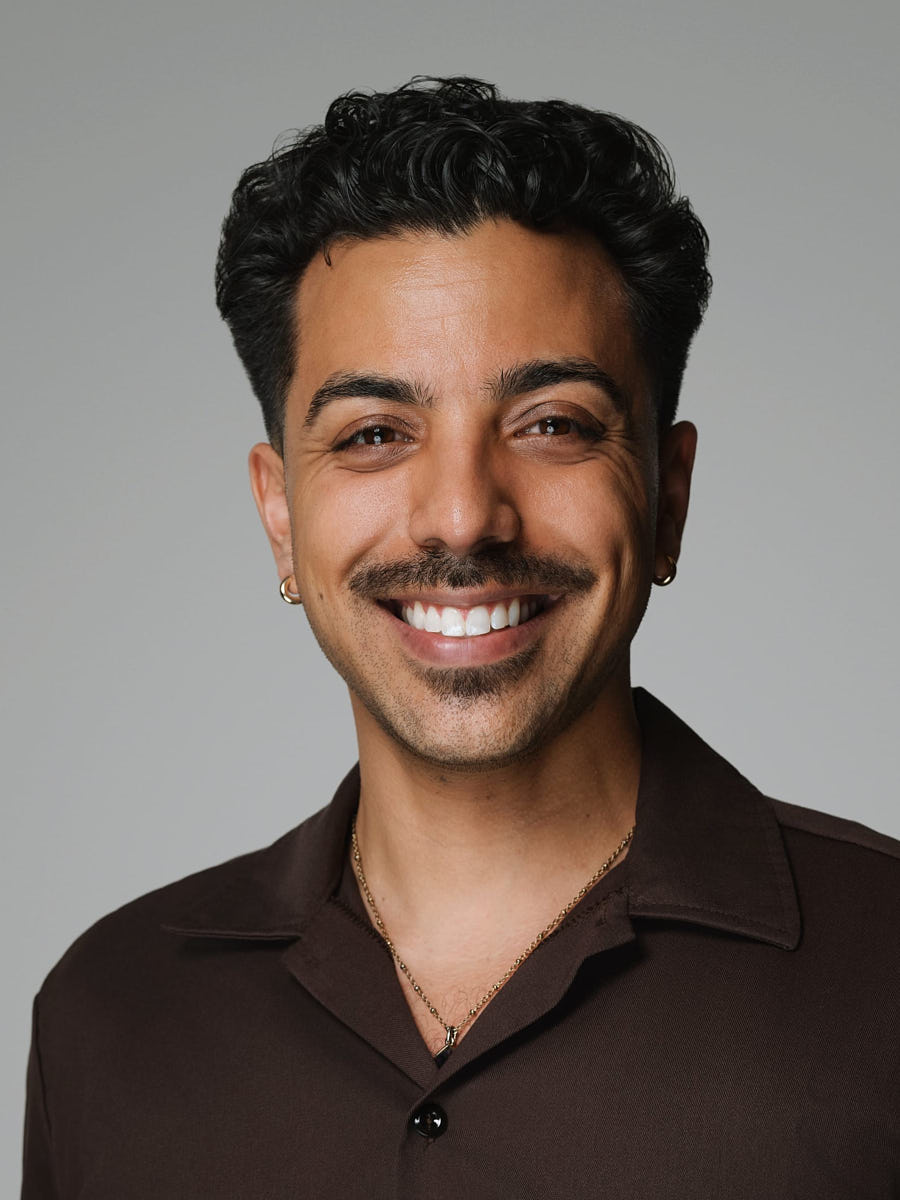
3. Keep grooming simple and realistic
The face you bring to the session is the face that will arrive at the next meeting. A trim a few days before — not the morning of — gives time to settle. For makeup, neutral and reduced beats heavy. For skincare, avoid trying a new product the night before. Retouching during post handles small temporary distractions like a blemish or a stray hair; it shouldn’t be the place to compensate for sleep.
4. Bring references for mood, not exact copying
Send the photographer two or three reference images that capture the register you want — calm, warm, formal, direct. Don’t try to replicate someone else’s portrait. Photographers will pull the parts that match your face and use case and ignore the rest. References for lighting and crop are more useful than references for someone else’s expression.
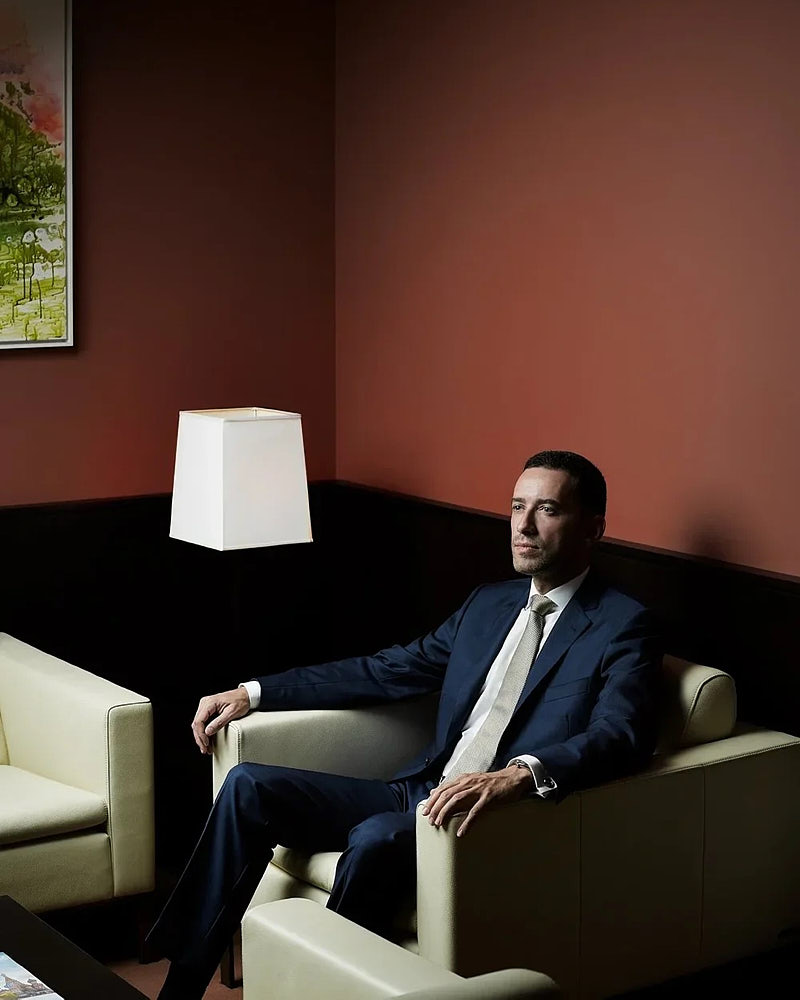
5. Plan for crop and background
Tell the photographer what backgrounds you’d like and what backgrounds you can’t use. If the company brand requires a specific color or environment, share the brand reference. If LinkedIn and a press image both need to come from one session, expect two different background and crop combinations.
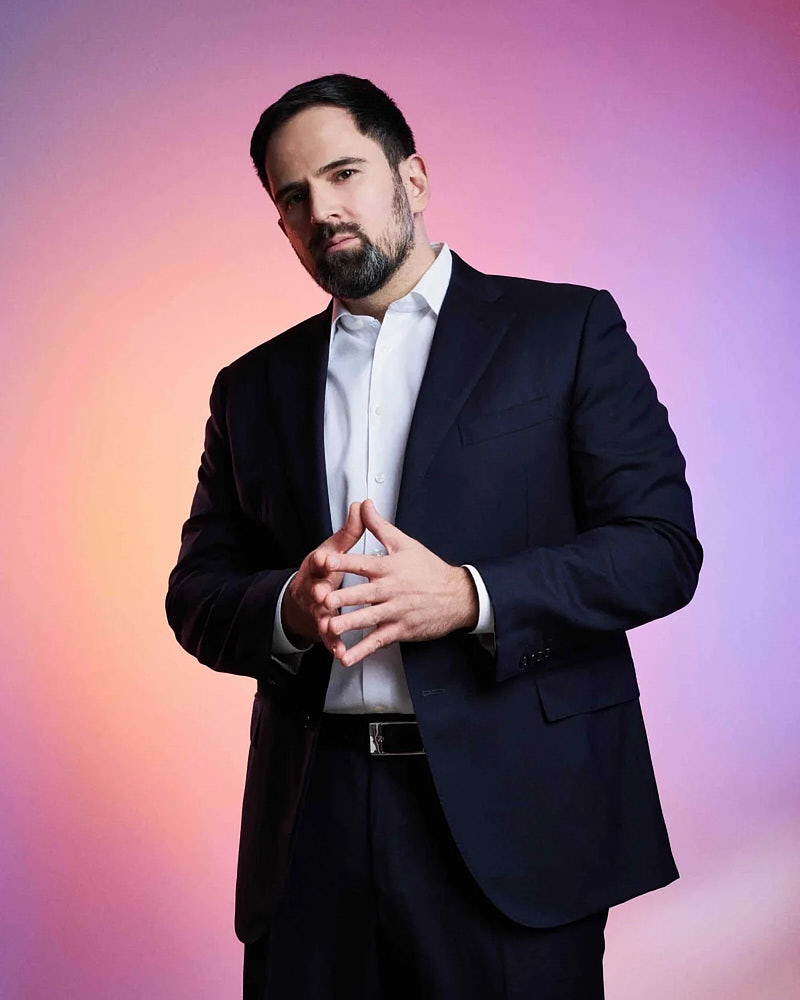
6. What happens during the session
A directed session is just a structured sequence. The photographer sets light and background, then directs angle, posture, expression, and where your eyes are pointed frame by frame. The first minutes feel awkward; that drops fast once direction kicks in. Sessions usually involve outfit changes between blocks rather than every few frames.
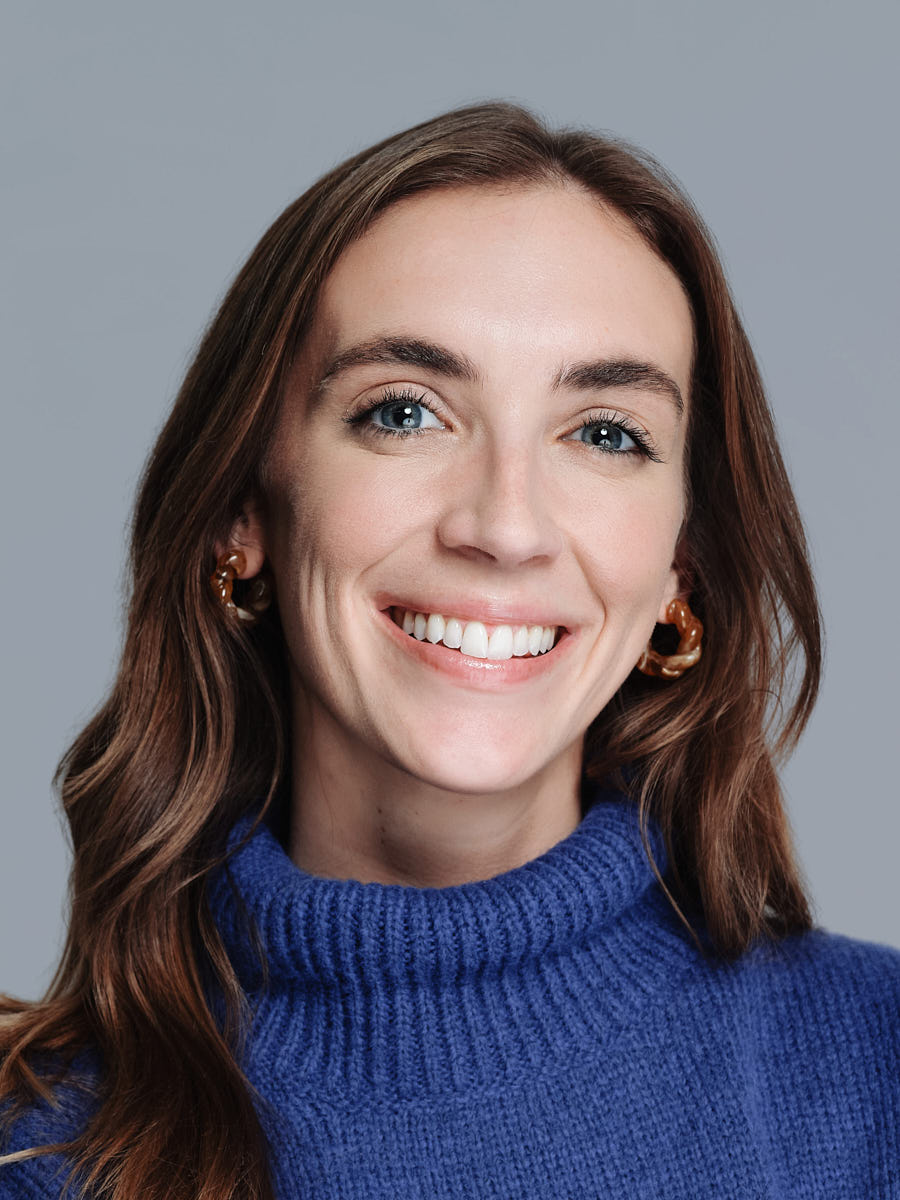
7. How selection and retouching work
After the session, frames go into a private gallery. You select the images that will be retouched. Retouching is light: temporary distractions go, real skin texture stays. The finals get delivered in the formats your published platforms need — a square LinkedIn crop, a vertical bio crop, a wider editorial frame for press.
8. Quick prep checklist
- A short note to the photographer with use cases
- Two or three outfits on hangers
- Grooming a few days ahead, not the morning of
- Two or three reference images for register, not copy
- Background and brand notes if relevant
- A short break before the session to settle
- The platforms the finals will live on
9. Related sessions
- Professional headshots — the broad service
- Actor headshots — casting-ready commercial and theatrical
- Personal branding photography — a planned image library, not a single headshot
- Studio and on-location headshots — the format comparison
- Pricing — package deliverables across Individual, Corporate, and Remote tracks